Mixnotes
notebook-338486_1920.jpg

How to listen and make mix notes that get results

helping you help me...help you

Getting a mix that achieves your goals and vision for the song is a collaborative process.  I do everything I can to understand the artist's vision before I begin the first mix, but there is usually still room for fine tuning, and that’s why we do a revision process.

There’s a list of guidelines and procedures I ask my clients to use when listening to their mixes and preparing notes for me.  After a few times typing it all out, I had the brilliant idea (or someone near me did) to save it all so it can be simply passed to clients when they needed it. Now I’ve finally had the common sense to make it part of my website so my clients —and anyone else— can refer to it.  


Take Notes:  

Write your thoughts down as you’re listening! Memory is very shaky, and we don’t want to leave anything to chance. You can edit the notes later, so write it all down as you go.  Use a notepad, voice memo, or a note app; use whatever you like best.

Listen on Multiple Speaker Systems:

If you make notes based on just hearing the song on your laptop or phone speaker, you’re not getting anywhere near the full picture, and your notes will reflect that.
Listen on the systems through which you’re most familiar hearing music. These could be earbuds, headphones, a car stereo, or a home stereo.  Maybe the phone speaker, too; just be sure to listen in many places to get a good idea of how the song sounds to everyone around the world.  

Listen at Different Volumes:

Our ears hear differently at different volumes. So after the initial excitement of having that first mix to listen to pushes you to crank things up, pull it back and see what pops out at quieter volumes.  Does the vocal get lost?  Does the energy stay up when it’s quiet?  Is it too harsh when I crank up the speakers?  Sometimes we listen to music in the background and other times it’s cranked up so we can sing along.  This will give you yet another perspective, and you may revise your notes.

Put the Song in a Playlist:

A great way to hear the song the way your fans will is to sandwich it in a playlist with similar music to see how the song feels in a shuffle.  Your mix doesn’t need to match so exactly that its unique character is lost, but you want to know how it fits next to other music. How will it grab the listener, and how will it blend?

Get the Opinion of People you Trust:

If you have bandmates, that’s obvious, but even if you are solo, it’s good to keep perspective.  Find people whom you trust (they probably need to have similar taste in music).  Make sure they’re also listening on real speakers and —this is important— don’t prompt them!  Get their feelings on the song without priming them to pay attention to something you’ve already written down. Ask them how it makes them feel.  Is there anything jarring about the song that stands out?  What do they love about the song?  You might be fixating on a small detail that 99% of listeners will never notice. By using this process to help you consider what they say weighed against your own feelings, you can stay on target to achieve an overall good mix, not just one that fits your own expectations. 

Organize your Notes:

By now, your notes might be a long list and might even have some conflicts or contradictions within it.  Edit the list to remove these conflicts (vocal up, and also vocal down, etc.), and organize them by instrument and time as much as possible. Read them out loud to yourself as a check to see if they make sense. A confusing sentence might go unnoticed when you write/type it, but will stand out when you read it out loud to yourself.

Don’t Panic!:

If, for some reason, you get that first mix back and it is way off from the creative vision that you have for the music, don’t despair! Just communicate that immediately in a professional manner.  I do my best to avoid this by communicating frequently before the first mix and through use of reference tracks, but a misunderstanding can still happen from time to time. It’s probably not hard to get things back on track.  It’s time to communicate more about the references, and/or change those references up if you think I've misunderstood something major.  

One more thing:

Keep in mind that the process of mixing is balancing.  Turning one instrument up is, essentially, the same thing as turning everything else down, and boosting the lows in the bass guitar might mean cutting some bass from other tracks to make room. What I do to turn your notes into a mix revision is to first interpret them in the context of the song and then to make a creative choice about how best to achieve the goal.  Sometimes that’s as easy as you saying, “turn the guitar solo up” and me doing just that.  Other times the guitar solo might be covered by some other tracks or effects and changing those is the best way to make the solo sound louder in the mix.  I let the context decide.

That’s it!
Taking good notes, varying your listening environment, getting alternate perspectives, and editing/organizing the notes for clarity and conflicts will make sure your mix revision gets results!

Unusual session... For me, anyway.

I had an interesting session recently for The Small Brain Curds, a four pice band featuring Motown and soul tunes.
They wanted to record a cappella arrangements of a few of their favorites. I thought the best way to approach this with a band that’s most used to playing in a room together is to record it the same way. All live, all at once. When thinking about the best mic technique for this I asked for advice from the great Slau, and of course, he came through with an idea I had never heard of and surely wouldn’t have thought of on my own.

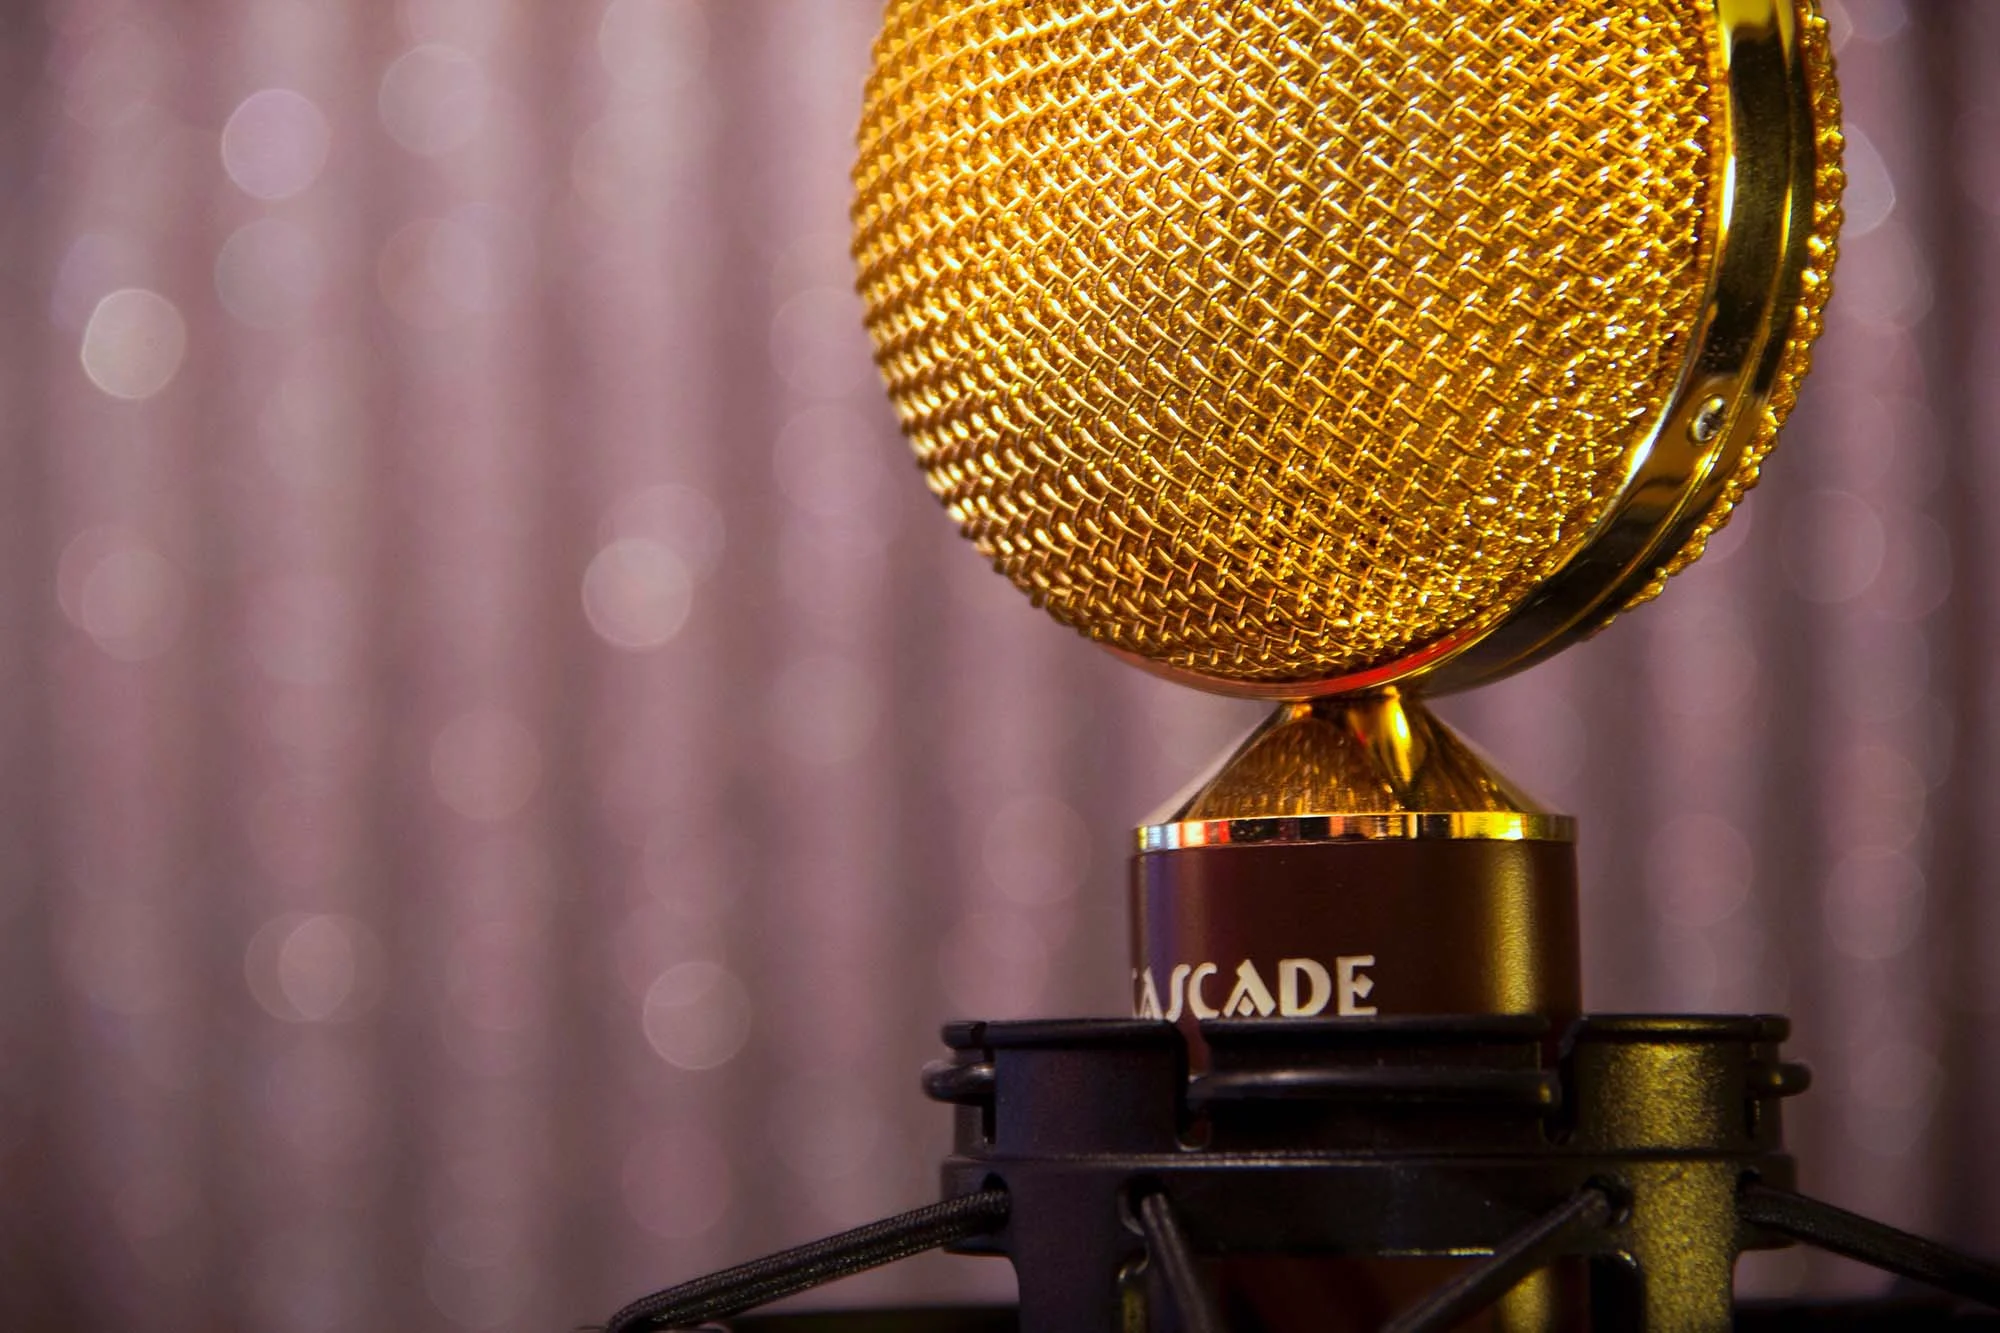
I placed my pair of Cascade Fat Head II ribbons with the stereo bar as if setting up for blumlein in the center of the room. The figure eight patterns of each mic facing (almost) the corners of the room. 

(I say almost because we avoid facing the walls to reject reflections but directly pointing them at the corners could have its own problems. So just off from the corners is best) 

The performers stand facing each other like an X around the microphone array. Each mic hears two voices, one on each side, and the other two voices are in that mic’s rejection nodes. With careful listening the voices can be balanced by moving closer or farther away from the mics. This allows the performers to hear and see each other easily which is crucial to this sort of recording. Each singer was about 20 to 26 inches from the mic depending on how loud they were which turned out to be far enough to avoid any need for a pop screen and problems with the ribbon’s powerful proximity effect.This technique picks up quite a bit of room sound so I was glad I put so much into good acoustic treatment but I also hung up my blankets and gobos behind the singers to cut out even more. 

 Small Brain Curds recording at Railroad Avenue

You can see in the picture I placed my Rode NT2 in omni mode in the center of the pattern also. I recorded this to a third track with the idea that I might want to mix in some high end but the Fat Head II’s gave me everything I wanted so the track was muted in the mix.
The simple two tracks made the mix feel more like mastering. Some gentle multiband compression helped to even out the high and low octave voices.

Thanks to Slau for the great technique. Another tool to remember.

A final mix from the session…

oh, what a difference...

if you take away only one thing from this post, make it this: if you care about your tone you owe it to yourself to check out singlecoil.com


last week i took on replacing the cheap pots and caps that came in my telecaster with NOS military parts as the next step in my endless journey toward the ultimate tone.  i thought i’d post a little reivew and hopefully stear some of you out there to do the same.

pots and caps can vary greatly in price from just a few cents on the cheap side to tens of dollars for really nice NOS parts.  but then again, tens of dollars isn’t much if you can really improve the tone of your favorite instrument.  a comparison of tone caps on the Home Recording Show turned me on to the idea so i headed over to singlecoil.com.  the site is a tresure chest of great tips, tricks, how-to’s and what-to’s of guitar modding goodness. i emailed their web shop for advice on what to do with my telecaster.  they suggested two matched military grade 250k audio pots, a NOS german papter-in-oil tone capacitor, and a speacial “bleeder network” to go in place of the cheap ceramic capacitor across the load of the volume pot.  these pots have a super smooth 60/40 taper for a more musical range of motion than cheap ones and the paper-in-oil tone cap reveals a clarity in the midrange and articulation of the tone in all positions of the tone knob that was just muffled before.  the “bleeder network” that they attached to the volume pot for me at their shop is a small cap and resistor in paralell that cuts the volume more evenly across the frequency spectrum so the guitar doesn’t start to sound “thin” at lower volume settings.

this all cost me $62 including shipping.  once installed i could feel the new pots are smooth and firm as i turn them.  i used to never touch my tone knob because it made the guitar sound like i’d put my had over a microphone or something.  now any position of the tone knob sounds useable from full brightness and bite way down to the warm soft end.  but the most impressive part of all is the overall clarity in articulation that the guitar has.  when playing with the band my guitar cuts through better with out having to push the volume on my amp.  i can easily hear individual notes in my chords even with my distortion pedal breathing flames of rock awesome all over them.

$62 may sound like a lot for a couple of pots and some caps for your guitar but the improvement in the tone easily rivals some of the other, much more expensive addtions i’ve made to my signal chain.  

if you care about tone, don’t overlook this! trust me.

(some pics of the install)

new pots and caps before installwired up, ready to rock

my DIY acoustic treatment

on the list of basic, got-to-have-it gear for anyone wanting to make great recordings, is a well treated room. (or in my case, a live room and a control room!)  it’s the single best bang for your buck thing you can do to improve your recordings by making the source sound better in the first place.  i built my own broadband absorbers and diffusion panels, they came out great so i want to share what i did, what was good, and what could have been better.

most small rooms need absorbtion more than anything and that’s mostly what i did as well.  i researched quite a bit around the web for the best materials and methods.  i found a design for a wood framed fiberglass pannel that i made my own simplified version of.  the idea was to make the frame with another frame inside it, holding the chunk of insulation suspended with an air gap behind it.

but i like to tinker and modify things so i saw a way to simplify the construction while still getting great results!  here’s what i did:

my research found that rockwool is just as effective as owens corning 703 at absorbing sound and it’s cheaper!  the downside is it isn’t quite as easy to handle because it’s softer and tears if you’re not careful.  i had a good source for this stuff, in a friend who is a home builder.  it came in 4’ by 16” panels (3” thick) that’s because it’s used inside walls during construction for more sound resistant walls.  i got 2 bails of it, 24 pieces, for just $100.  i made simple frames from 1x2 pine board to the same dimensions as the insulation and stretched fabric across them like a canvas.  the piece of insulation sits on this “canvas” and another piece of fabric is wrapped over the top and it all get stapled together.  the 2” depth of the pine board is all behind the chunk of insulation so when it’s against a wall or ceiling it has that air gap behind it. (this air gap is very important as it increases the effective frequency band of your panels by letting the sound waves pass through partially absorbed, reflect off the wall, and pass through again.  it’s like adding free thickness to your panels!)  the fabric i chose was black burlap because it’s the cheapest i could get at about $2 a yard.  this design will hang on any screw, you can put hooks in them to hang in corners with picture wire, or even mount them right onto ceilings or doors with L brackets and screws as i did in a few places.  just make the frame to whatever size and shape your insulation pieces are, it’s quite simple.

i didn’t have the presence of mind to take any in process pictures when i made these panels over a year ago, sorry!  if anything needs clarification just ask.

i hung a few of these on the walls and corners of my live room and lots of them are on the walls, ceiling, and corners in my mixing room.  very effective, and inexpensive to make.  so after recording in my newly treated room a few times i felt like i wanted to liven up my room a little.  i was adding high eq to almost everything that was a distant mic.  but my room has parallel walls so i can’t just go taking down a few of my absorbers or i’ll get flutter echoes.  luckily for me the may/june 2011 issue of TapeOp magazine had an article by Brad Williams about building your own (inexpensive) QRD/BBC diffusors!  these are really expensive to buy ready made and the prime number equations for laying out the placement of the blocks is complex.  but this article has it all laid out like a paint by number.  the plans call for 2x2” wood studs and 18” sheets of plywood the glue them on to.  i love a project!

first choose the depth of the panels you want to make. deeper panels are effective down to lower frequencies.  i made mine with blocks 4, 3, 2, and 1 inches long for panels that are effective above about 1.7khz but doubling the length of those pieces to 8, 6, 4, and 2 inches will make panels that are effective down to about 850 hz.  the different lengths are laid out on the board according to the diagram in the magazine to create the uneven surface and scatter the sound waves as they reflect.

the shallow panels i chose require a little more than 3 eight foot studs to cut into the four different lengths for each diffusor.  i made four of them so my material cost was about $75.  so cheap compared to what you can buy from acoustic treatment manufacturers!  and the results are great looking, effective diffusors.

update!!  i found a web version of the instructions for how many pieces you need and where to put them here!  

so is this all worth it?  in the case of the absorbing panels i think it’s definitely yes!  low cost, not too much work and man are they effective.  the diffusors on the other hand? well, cutting those studs into the 4, 3, 2, and 1 inch pieces took about 2 hours on a table saw. (if i had a chop saw i could have sped this up a bit)  gluing the pieces to the plywood backing took about six hours.  and because i used knotty pine studs to save on material cost i decided to paint them black to match my absorbers.  they look great and add to the professional esthetic of the studio but i don’t think i can recommend this project to somebody unless you really get a kick out of doing things yourself like i do.  this took quite a few of my weekend off-hours when i could have gone to target or something and gotten a big book shelf, filled it with a shopping trip to a used book store for probably a bit less money than what i spent on these materials, and surely way less time.  these diffusors are obviously more effective than a book shelf, but how many hours and dollars more effective?  

i’m glad i made them, like i said: i love a good project, but i won’t be making any more!  

i hope this helps some of you decide what you want to build and how to do it!  any questions just ask!

and here are some photos of the the diffusors in process and a picture of them hanging on the wall of my live room next to one of my absorbers in the corner.

home made QRD/BBC diffusor in processhome made QRD/BBC diffusor finishedhome made QRD/BBC diffusors and absorber panel hanging

Forging Reverie Vocal Chain

i never got around to posting about the chain we picked for Tye’s vocal.

Tye’s vocal setup

it was the RODE NT2, really close, like six inches off his mouth, just below, on axis.  this is a really tough distance to get right, i wouldn’t recommend it for singers that move around a lot, but Tye is really stable when he wants to be and we liked the close sound.

so straight into the Aphex 107 tube pre.  i was expecting to like the Golden Age pre73 but the sibilance was a little more harsh than i wanted and the Aphex was softer, and did some really great things with “eff”s.  fuzzy fuzzy effs….  so then i double compress to tape!  (not for the faint of heart)  first side of the ART PRO VLA tube compressor has a high threshold, high ratio, fast attack, fast release.  grabbing the big peaks.  then into the other side of the same unit doing around 2-4 db of reduction on 4:1, slow attack, fast release to bring up the bottom and smooth it all.  

this isn’t the sort of thing you teach a beginner, when you’re doing this much damage so close to the mike before tape, you better know what sound you’re going for.  a few parts we moved back to the 24” range to get a bit more distant sound but most of the record is done this way.  


….there isn’t a whole lot left to do here :)

Justin NewtonComment
thanks, everyone

on this, the 4th day of may, my phone has been exploding with all your birthday wishes.  it’s not a bad feeling.

i’ve been pouring almost every second into finishing up the Forging Reverie album so i didn’t have time for a big celebration.  still i used the occasion to get some cool new stuff!

first of all i graduated to some big kid monitors, A5x’s from Adam Audio in Germany.  i knew i wanted to get myself new nearfields for my birthday this year so the whole of april was spent researching.  i settled on the Adam’s, at the high end of my price range they’re so very worth it.  they’re extremely true and flat, the folded ribbon tweeters are like… cleaning a really dirty car windshield.  i just want to be listening to them all the time.  anyway, here’s a pic of the desk…

 Railroad Avenue Deskon top of that, some friends and family were kind enough to hook me up with the remaining parts to build the guitar i’ve always wanted!  no more modified korean telecaster for me.  here now, is “Operation: build my dream guitar”

the lake placid blue telecaster body with vintage white binding:

lake placid blue telecaster bodywired up the electronics, Fender Hot rail single coil at the neck and my personal favorite DiMarzio Fast Track T at the bridge, coil tapped, and my foil tape shielding job so no aliens can contact me while i’m rocking.

wiring add the 2008 American Standard Telecaster neck, vintage white pick guard Sarah got for me and the Modern Tele Bridge from Gotoh… here all measured, placed and ready to drill.

ready to drilland here it is all finished and strung up.  beautiful.

new weapon i feel like Luke fucking Skywalker.  “So, you have constructed a new lightsaber.  Now your training is complete”

so even though i was to busy to have a party, and it seems i’m not going to make it out to any Cinco De Mayo party (as is my usual custom) due to our recording schedule, it’s been an awesome week.

thanks again for all the messages!  i’ll see you when i see you.

Forging Reverie Vocal Shootout!

i’ve uploaded samples of 10 different vocal microphone setups, we want you to listen to them and vote for the one you think sounds the best!

here they are, get to it!

Forging Reverie vox test . zip

just download the zip and play the high res files.  swap back and fourth until you find the one you think sounds the best and post your pick in the comments.  thanks!

more guitar, keyboard, and we might need your help...

tracked my keyboards and almost done with guitars.

keys are recorded midi into Reason 4 with stock libraries and the Abbey Roads Keyboard refill.  the challen piano and the hamond organ in that pack is unbelievable…  re-wire that back into pro tools.  maybe i’ll re-amp some of this through some pre’s or other outboard gear if it needs something to glue it to the mix, we’ll see.

for my guitars i messed around with so many odd ball placements i nearly pulled my hair out.  eventually came back to a very similar setup to what we did for Derek’s.  Cascade FatHead II edge of the dust cover and this time a 57 half way from the edge of the cone to the dust cover.  both on axis, both into my golden age Pre73’s.  i wish i had some inline HPF for the ribbon mike, it’s picking up some sub information that i need to filter out…but the pre73 doesn’t have a filter and it has this detail in the mid range that my other pre’s just didn’t.  


 BUT WAIT!  

(there’s more)

check back tomorrow night for a special thing we need your input on. YES YOU!  more to come in the near-to-now…


Lots of progress

bass done, Derek’s electric guitar done, 

Derek’s going over some acoustic stuff we’re about to lay down, here’s some pics!


for the audio-curious, on the bass that’s a Ampeg SVT-CL with the matching 8x10 cab.  ElectroVoice RE20 (EQ Filter on) less than an inch off the grill 15º off axis, center off the cone, into the Aphex 107 Tube pre.  the RODE NT2 in cardioid mode, about a foot and a half away, into my Golden Age Pre73 - a Neve 1073 copy.  i moved this one around until it was in phase with the RE20.

my Effectrode Tube Drive pedal is in front of the amp for some moderate crunch on some songs and we used a fuzz face pedal for some rich creamy fuzz in a song or two.  the RODE is very warm and round while the RE20 adds attack and a lot of the action when we had the distortion/fuzz on.  it’s surprisingly beefy even with the EQ filter on!


Derek’s guitar was recorded with his Fender Hot Rod Devile (modified with a JAN 12AT7 in the first pre stage) into my Avatar vintage 2x12 with 1979 celestion G12-65’s.  we used my Effectrode Tube Drive for the distortion here also, this time with the original JJ’s in the first and second position swapped out for Mullard 12AX7’s.  (the most amazing tube ever for distortion)

we dual miked this cab as well with a Cascade FatHead II ribbon microphone, at the edge of the dust cone and the Sennheiser e609 silver, about halfway from the center to the edge of the cone, 45º off axis away from the dust cover.  both about 2 inches off the grille cloth, carefully phase aligned.  the FatHead II into the Aphex 107 with the low pass filter enabled and the e609 into the GA pre73.

the FatHead II captures a dark, roomy tone with lots of rich low-mids and the e609 got just the right amount of edge and note definition.  


Finally today we did acoustic guitar for a few songs.  here we have the Casdace FatHead II’s (seeing a ton of use since i picked these up, so great) in Blumlien pair.  three feet-ish away from the guitar, at 45º up in front.  these into the GA pre73’s captured a fantastic detail in the mid range and a great room sound at the same time. such a realistic image.  i threw up the Rode NT2 just below them in cardioid, into the Aphex 107 with the low-pass filter.  moved around ‘till it was phase aligned and added it to the FatHeads for a little more pick noise and brilliance in the high end.  

for parts where the acoustic is solo or primary the mix will get more of the ribbons than the LDC but we recorded quite a bit into other songs to accentuate certain themes, these parts might sound best with the LDC turned up more.  it’s a versatile combination, i’ll post some clips when i find a few min.

later!


Forging Reverie Drum Session

UPDATE!


drums are done tracking, kids!  here’s a video Derek shot explaining the setup and sneaking a peek.

check it!


i didn’t go into much detail here but if anybody is interested i surely will, just ask.  be sure to like my vids and subscribe to my channel for more updates (at whatever lazy pace is accomplish-able)

(now back to work for me)

Maybe you should care about what Patrick Leonard has to say.


There are lots of great podcasts on the topic of audio and recording. While the likes of “The Home Recording show” seem a better fit for we non-superstars, I still like what the A-list folks at “Audio Nowcast” put together. If you think you can’t benefit from the perspective of the super pros, well, you’re probably right. Go home and leave the audio to the rest of us.

On this latest episode of the show Patrick Leonard joins the discussion and, in the context of some seemingly depressing news about music industry numbers, has some great things to say. This is a topic i’ve heard and read a lot about recently and, for me, Patrick’s thoughts changed the tone completely.

Go listen to this show. Even if you’ve never been more than a consumer of music this applies to you.
(if you don’t like long format podcasts just listen through the first of the three segments. It won’t hurt that bad, I swear)

click to listen to Audio Nowcast episode 99!


...not much man, what about you?

The past few weeks I’ve had a few things going on. For starters I’ve finished the conversion of my new house into a dual purpose living space/recording studio! Got the new studio set up with Pro Tools 9 and a few other bits of tasty new gear. 
Next I broke the room in with by remixing the year and a half old recording of “One Idea” by Forging Reverie. (results can be found on the demo reel)
That song was originally released on a compilation cd to benefit the Dover Children’s Home and used in the soundtrack for an indie film called “Sunblocked” from Astro Piano films. Well, one thing lead to another and I’m currently waist deep in remixing the audio for future screenings of “Sunblocked”. 
Oh yea, and as if that isn’t enough we just officially started tracking drums for the upcoming Forging Reverie album! I plan on making lots of updates and videos on the production process as we go so, I’ll go into much more detail on this soon. Until then I leave you with this teaser pick…


new site is up!

(i hope)


new site is going live everybody!  it’s late and i’m tired from a long weekend of drum sessions (more on this later) so when you find bugs let me know. 

hopefully i’ll flesh it out bit by bit in between sessions.

\m/

Justin NewtonComment
goldielocks is not welcome in the recording industry


Recording Studio Image by TomBorowski via Flickr


i got straight A's in audio school, and while i secretly feel that the experience i've had since then is actually the part that made me good at what i do, i should still be able to stand next to my framed degree and earn money, right?  what's that? you're buddy just got a cracked copy of cuebase and a couple of microphones?  so unless i have a 64 channel console and a secretary i'm the same as a beginner?

i read dozens of articles about audio and the recording industry weekly, but this week one stuck out.  Charles Szczepanek wrote for theproaudiofiles.com Setting Studio Rates 101

[read that and come back to me]

this is a topic i've had on my brain for a while and Charles' thoughts echoed pretty exactly what i'd been thinking about it.  i pay attention to new local music and much of it is very, very good.  sadly most of the recordings i hear from locals aren't well produced at all and the music suffers.  these might be great songs, but they face an uphill battle for the admiration of the listener.  now and then i come across a recording that sounds better than i think i could do.  every example was recorded by somebody great, charging premium studio prices.


Recording Studio at Berklee Colleg of Music Image via Wikipedia


in the past i've looked around at studios and how other recordists are pricing themselves.  "my recordings sound good, but i don't have quite the expensive gear so i should charge a little bit less"

after reading this article i feel like maybe i should raise it up to $40 p/hour.  is this what it takes to set me apart from your buddy with cubase on his macbook?  is there no place for mid level producers?  i know i'm not a big shot but i surely am not competing with beginners.


LiquidMolly's home recording studio. Image via Wikipedia


so what's my value?...  i think artists should choose me to produce their recording if they like my style.  if they want a clean, hollywood-polish sound they're better off going to an expensive studio that turns out mixes like that.  if they don't care about (or don't notice) the difference between my work and a garage band demo, they shouldn't spend a penny.  but if they like warm, organic, maybe a little raw but definitely natural records, maybe i'm just right.

been gone a while
it's been ages since i've updated. things are slowly coming together in my new home/studio space and i've been getting my rock on a bit too. there will be more to come but if you really want to know i'll tell you how, but you must act fast!!!

see this message from:
Forging Reverie, We've been quiet. Want to know what's up? 11pm Live radio interview tonight at http://ipmNation.com/livechannel Questions call in: (603) 622-4555
...how may i help you?


Audio mixer faders at the Bull & Gate pub in K... Image via Wikipedia


not sure what will happen with this but i've set up a formspring account. is there something you want a producer or engineer's opinion on? anything about sound and music you want an honest answer to?

hopefully this will generate some good content. (instead of turning into spam city on parade day) here goes! www.formspring.me/jntracks

news of a spontaneous project is in the works but for now it's still a secret so....  bye!
fun with guitar micing

yesterday Derek from Forging Reverie brought over a box full of vintage old microphones and stuff.  they’d been under his bed or something for years, passed down from his dad.  so i picked through them; a few old mics you might plug into a 1970’s era cam-corder.  you remember, the type you’d attach to a shoulder bag that would contain the video tape mechanics?  there were some weird cables and a bizarre passive summing mixer with RCA in/out.

then i found a couple items that do qualify as “vintage”: ElectroVoice 627c’s and an AKG D19e.  the 627c is mostly used as a harmonica mic and it’s got a switchable impedance so you can go right into a guitar amp.  the web littered with stories about George Martin and the gang at Abbey Road using the D19e on everything from drum overheads to John Lennon’s voice.

i decided to fool around in the studio for a while and try these against some of my other dynamics on electric guitar.  here we go!


(left to right: Sennheiser e609 silver, AKG D19e, Ev 627c, Shure SM57, Ev RE20)

i played around with each mic’s placement to get the sound i liked best for each individually and then balanced the volume a little bit in the mix down.  this is NOT scientific in any way, i just wanted to get an idea of what they might be useful for.


the setup is my ash Fender Telecaster moded with a Dimarzio “Fast Track T” at the bridge into my custom boutique 50w and Avatar vintage 2x12 cab loaded with original Celestion G1265’s.  for the second pass (the distorted lick) i kicked on my Hot Chili Tubester and BOSS DD-6 delay.  here’s a little detail on the placement of the mics you’ll hear in the clips:


  1. SM57 - 45 degrees off axis, pointed at the side of the cone

  2. Sennhiser e609 Silver - 20 degrees off axis, pointed at the center of the cone

  3. Ev 627c - 45 degrees off axis, pointed at the center of the cone

  4. AKG D19e - 20 degrees off axis, pointed at the center of the cone

  5. Ev RE20 - on axis, pointed at the edge of the dust cap.


have a listen…


clean [audio “http://dl.dropbox.com/u/1522338/audio%20samples/dyn%20mic%20test%20clean.mp3”]


distorted [audio “http://dl.dropbox.com/u/1522338/audio%20samples/dyn%20mic%20test%20dist.mp3”]

so obviously the Ev 627c really has no business in a comparison like this but, it’ll be fun as a lo-fi effect mic and it’s awesome as a harmonica mic.  (check out YouTube if you have any doubt.)  the AKG D19e on the other hand, seems to have some very useful qualities.  definitely a vintage tone.  i predict i’ll be trying this out in many situations in upcoming sessions.  the fizzy, yet soft top end is something i don’t have anywhere else is my mic locker and i really like the kind of old condenser sound it has.

things got a little out of hand...
a couple weeks ago the guys from "Forging Reverie" were hangin' around and Ryan had written a little rap verse for the drive.  well, as sometimes happens when you're hangout spot is a recording studio, beat-boxing turned into programing and before we knew it we'd accidentally produced a song.

it was just a bit too much fun to let it go so last weekend we shot a video for it.

behold, "super secret video project" enjoy.

- ''j''